Two-Ingredient Plum Jam
One of the reasons I started this blog was to document family recipes that are close to my heart. This happens to be one of them. My aunt, Usha recently shared the recipe with me and since plums are in season, it seemed serendipitous to make some and log the recipe.
Growing up in 80’s (New) Delhi, I knew of only two varieties of jam - Druk Orange Marmalade and Kissan Mixed Fruit Jam. But come June, I would arrive in Bangalore for a month-long summer vacation and would be spoiled with the best of summer’s bounty. The breakfast table at my Ammamma’s house was never bereft of a jar (or two) of homemade jam.
The recipe for this delicious plum jam could not be easier. Just two ingredients cooked together until they attain jammy perfection. There’s not a lot of effort required apart from stirring and keeping a keen eye on the jam as it bubbles away. The whole exercise takes under an hour, from start to finish, but do take the time to read through the entire recipe and method carefully before you start. Make it a fun weekend project and gift a bottle to a friend or relative (if you can part with it).
A generous spoonful of its ruby goodness slathered liberally with peanut butter (or cream cheese) on a thick slice of fresh bread is the stuff my dreams are made of. So good! I particularly enjoy biting into the jammy bits of peel. But let me not wax eloquent about the pleasures of this sweet and tangy jam. The recipe is simple enough… I hope you try it for yourself.
Recipe
Two-Ingredient Plum Jam
(Makes one 500 gram jar)
Ingredients
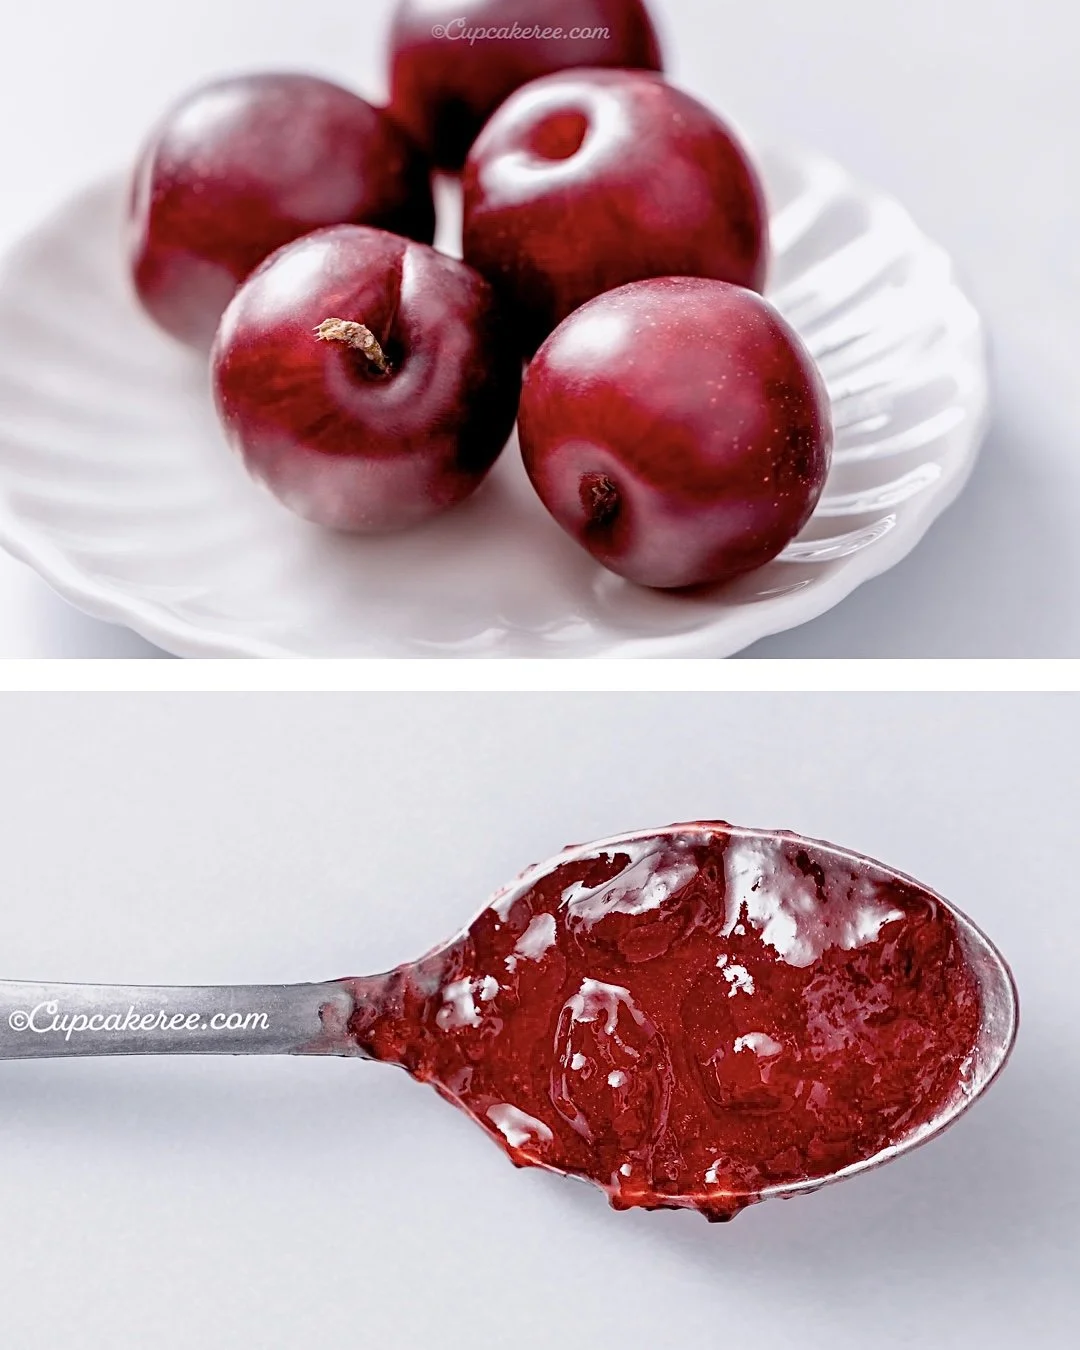
500 gms red plums (tart plums work best)
Approximately 2 cups sugar (I used only 1 3/4 cups because I prefer this jam to be fruit-forward and a bit on the tart side)
Method
Stone and quarter the plums (do not peel them). Reserve the plum stones.
Measure the cut plums (I got about 2 cups). Then measure out an equal amount of sugar (or less if you prefer a more tart jam). Combine it with the cut plums in a deep, heavy-based saucepan (make sure to use a pan with extra height as the mixture will foam and rise when it boils).
For the plum stones, you have three options:
Option 1. Discard them altogether and cook the jam using only the fruit and sugar. The jam will still taste delicious.
However, the plum stones often have some flesh stuck to them and I do not like to waste any fruit. Also, cooking the jam with the plum stones, helps draw out the pectin from the stones and tartness from the pulp around them, so I recommend following either the second or third option.
Option 2. Combine the plum stones with the cut fruit and cook them together with the sugar. Just make sure to pick out the stones and discard them after the jam is ready. Do this carefully using a long-handled spoon whilst the jam is still hot. This is the option I usually follow.
3. Cook the fruit and the stones separately. For this, reserve 2 tablespoons of sugar and combine the rest with the cut plums in the saucepan. Whilst the plums and sugar are cooking, combine the plum stones with the reserved (2 tablespoons) sugar in a smaller saucepan. Cook those over medium-low heat, stirring frequently for 6-8 minutes to break down the pulp. Take the small saucepan off the heat. Strain the pulp through a fine-mesh (stainless steel) sieve and add it to the plum jam mixture in the large saucepan. Discard the stones. This option is more laborious and I avoid it. I am mentioning it here because this is the procedure that was described to me by my aunt and this is her option of choice (I have tried it in the past, but did not find any significant difference in taste, so I resort to saving the extra time and dishes).
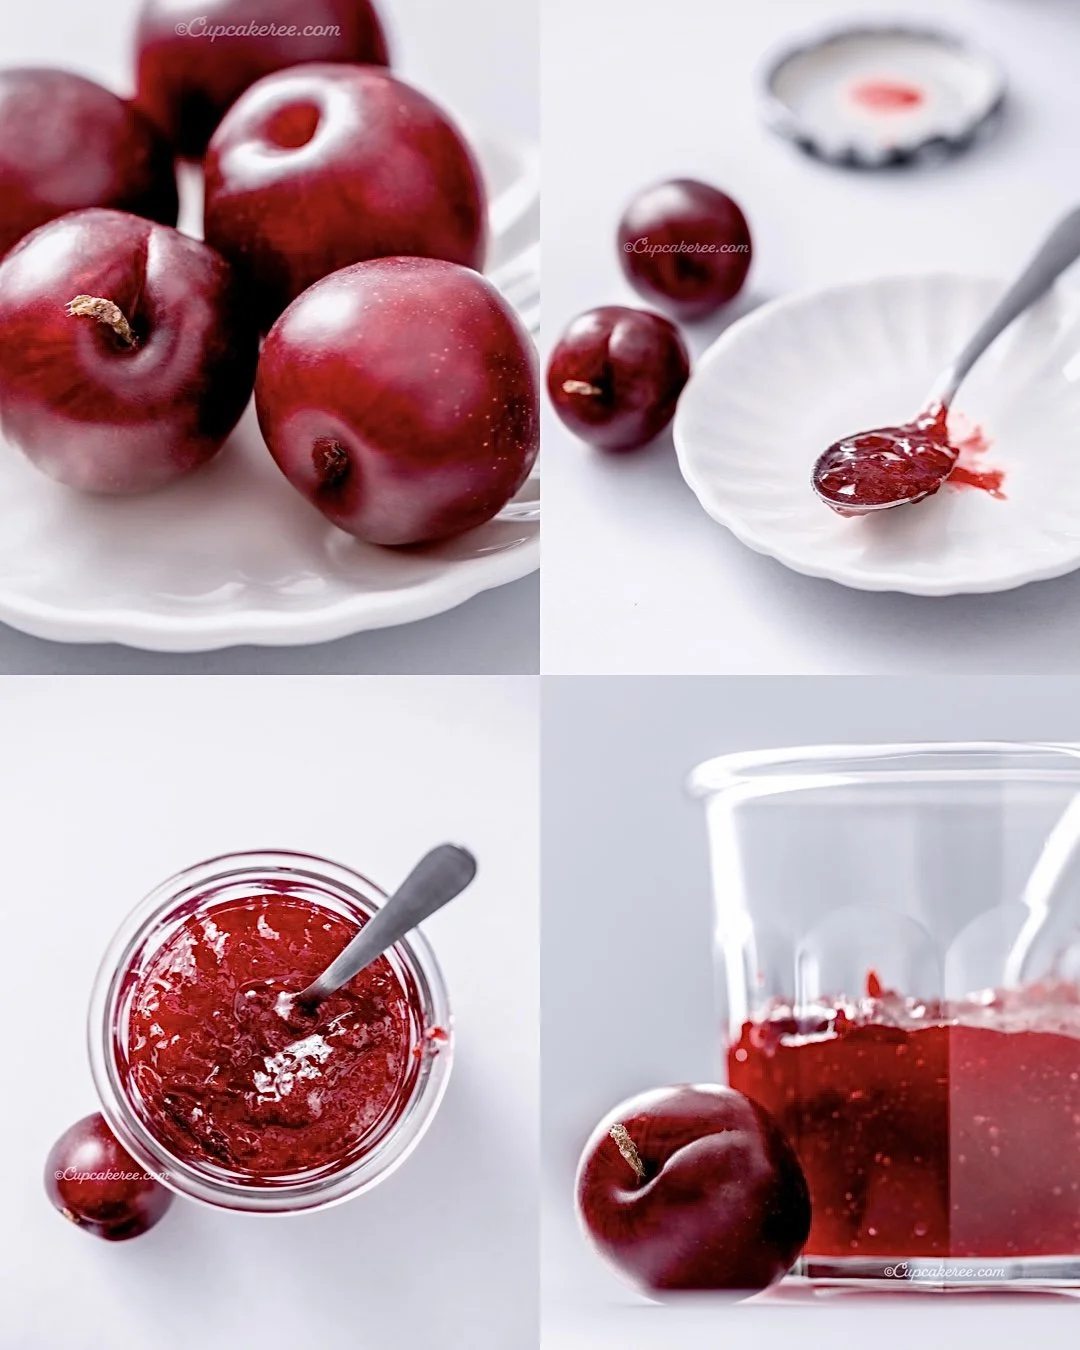
Whichever option you choose, the next step is cooking the jam. Bring the mixture to a rolling boil over medium-high heat. Use a wooden spoon to stir and lightly mash the plums as they cook. Continue stirring the plums and sugar until the fruit starts to turn translucent. At this time, taste for sweetness. Take a small amount of the (still liquid) jam in a teaspoon, cool and taste it. If it tastes too sour for your liking, add a teaspoon or two more of sugar and continue cooking.
Turn the heat down to medium-low and stir the jam continuously for anywhere between 7-12 minutes. At this point, keep a close eye on it and watch for signs of doneness. Once the jam starts to thicken and coat the back of the wooden spoon, test it by running a finger through the jam on the back of the spoon (let it cool a bit first) - it should leave a gap and not flood back. If it is flooding back, simmer for a few more minutes and test again. The jam will still be quite loose while its hot, but will thicken more upon cooling.
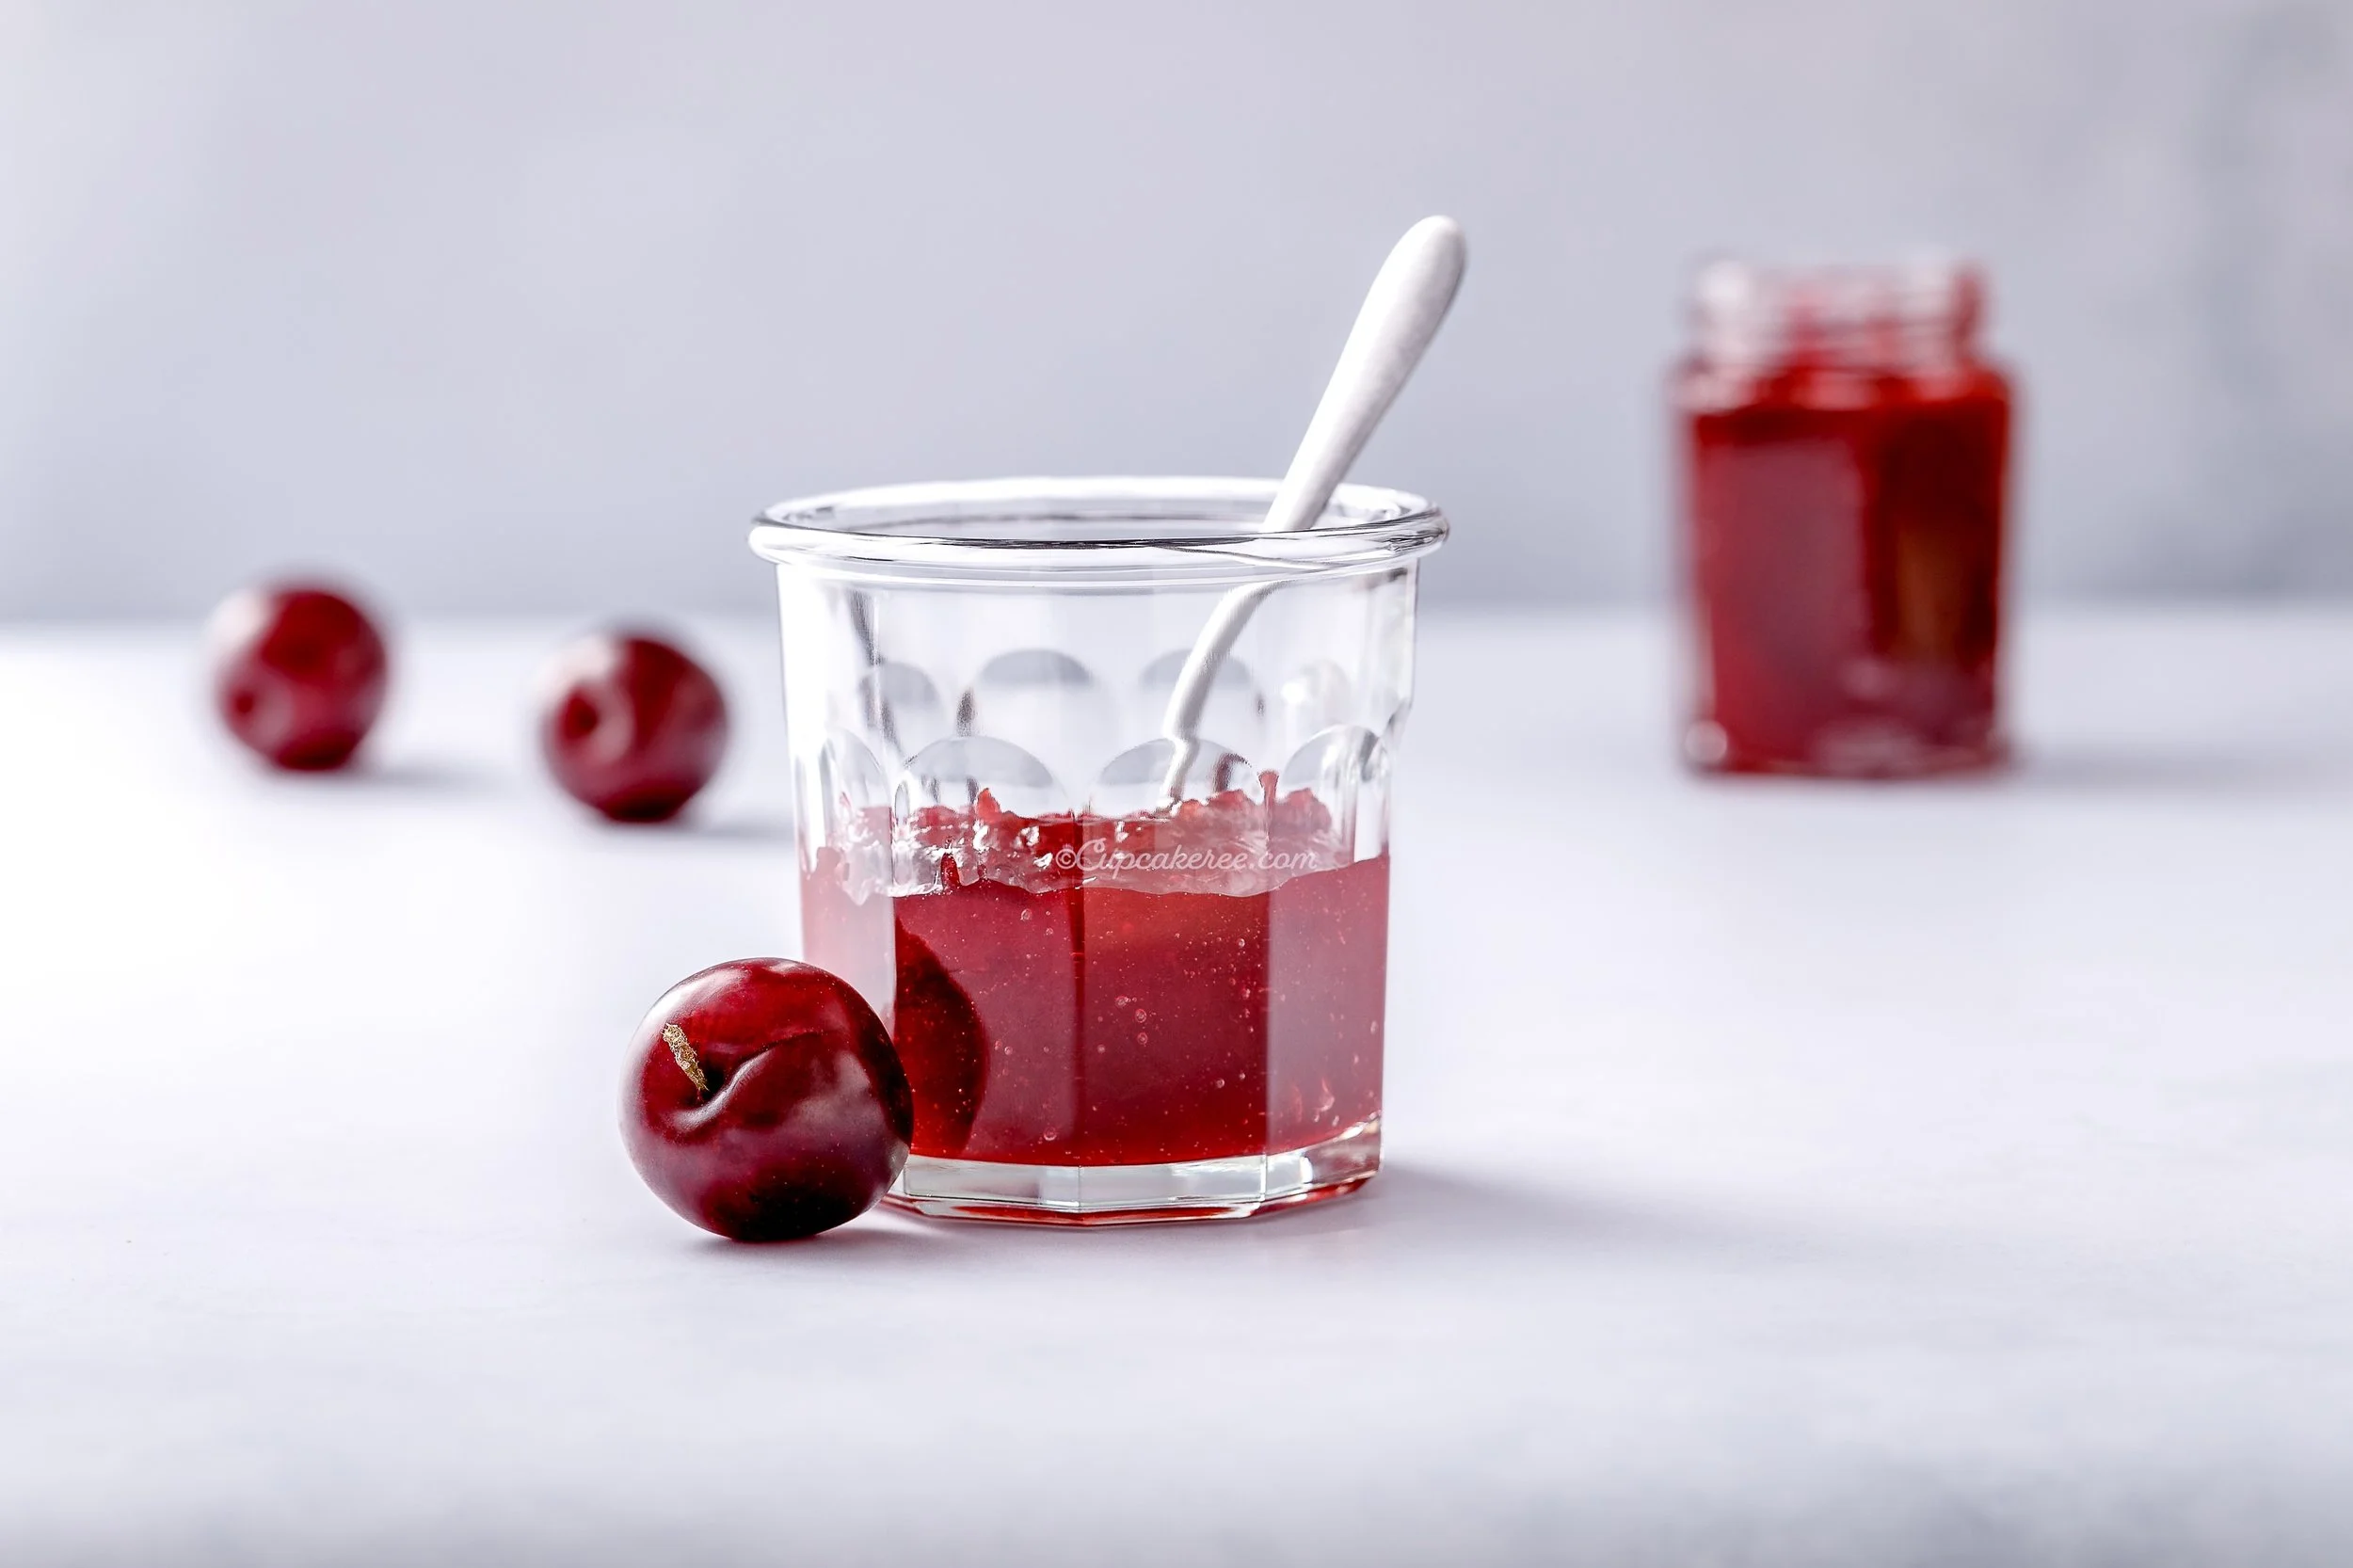
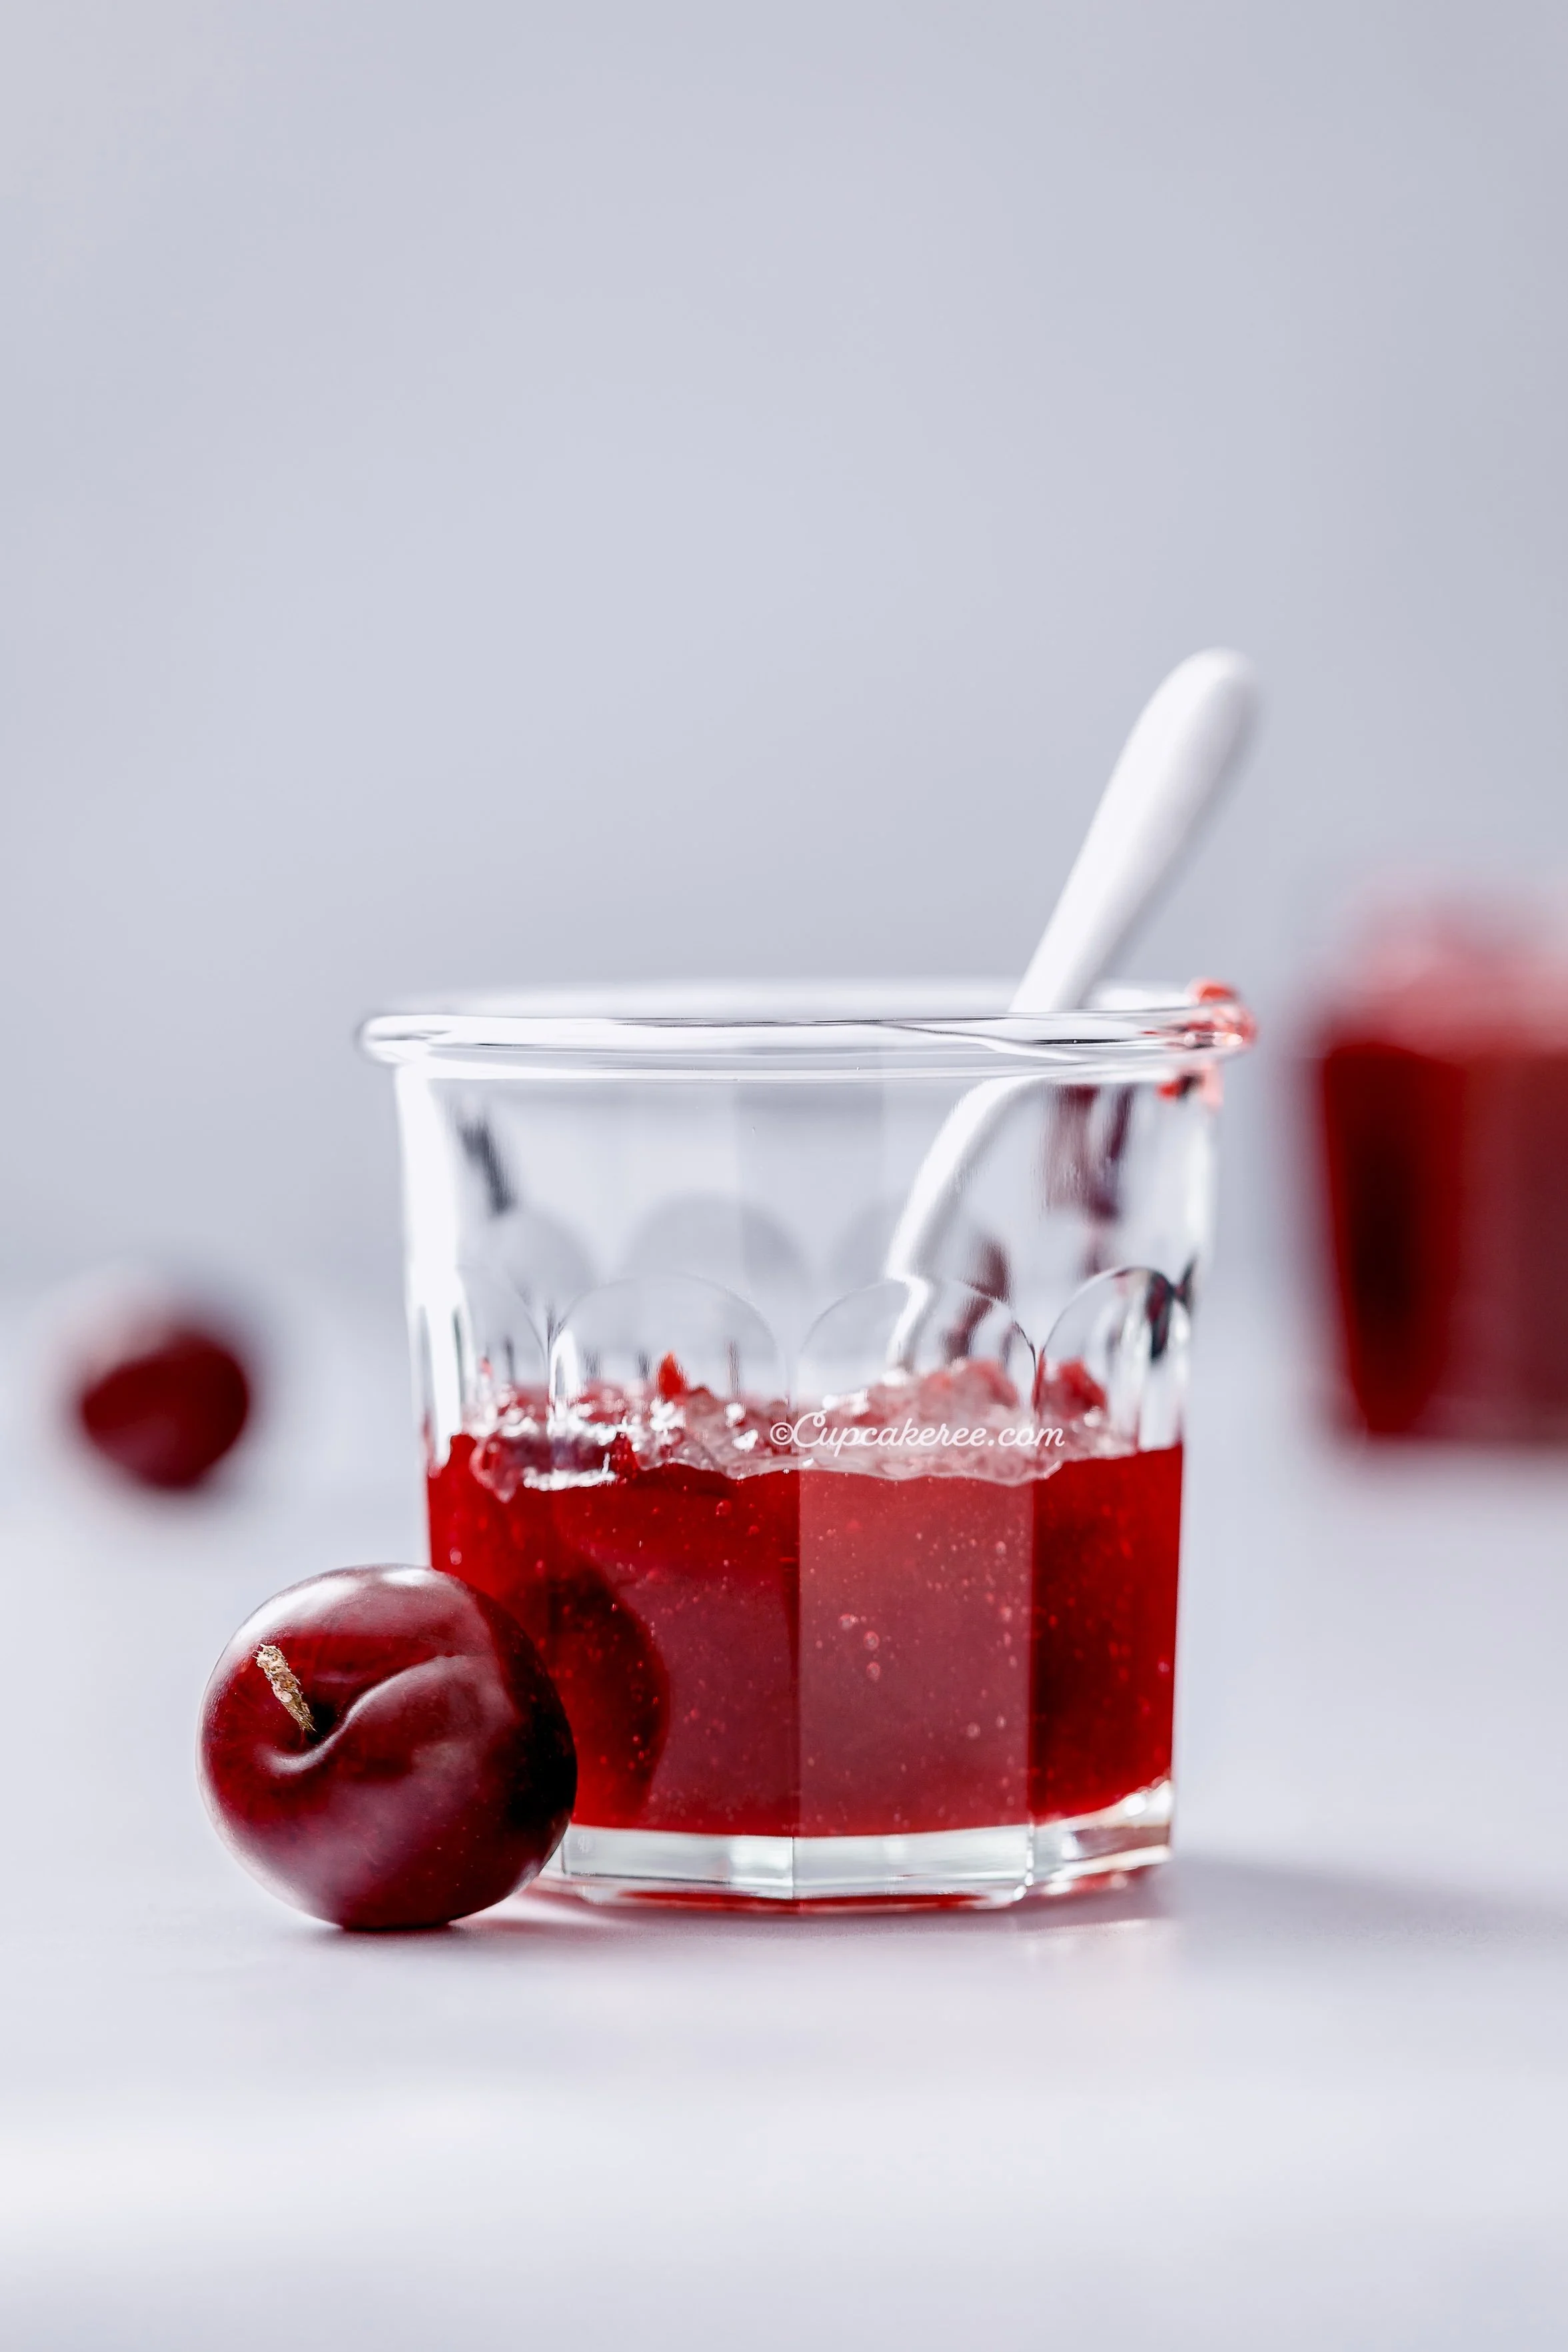
Remove the pan from the heat and cover it with a stainless steel wire mesh. Once cool, transfer the jam into a clean, airtight glass jar.
Enjoy the plum jam on hot buttered toast, in peanut butter and jelly sandwiches, spooned on pancakes or swirled into vanilla ice cream/yogurt.
Store the plum jam refrigerated for up to six months (since the jam has no added preservatives, it is best stored refrigerated). Leave it out for 15 minutes before using.
Note: In case the plums you use are more sweet than sour, you can add some fresh lemon juice whilst cooking to increase the tang.